All Posts
Build Your First Real Time Conversational Digital Twin in Five Minutes


Imagine you could build a video AI assistant that humans can interact with in real time. Now, imagine you could do it in five minutes. Well, now you can. Build a real time conversations with AI digital twins with just an API call.
In this tutorial, we’ll cover three of the main pieces that can get you off to the races:
We cover:
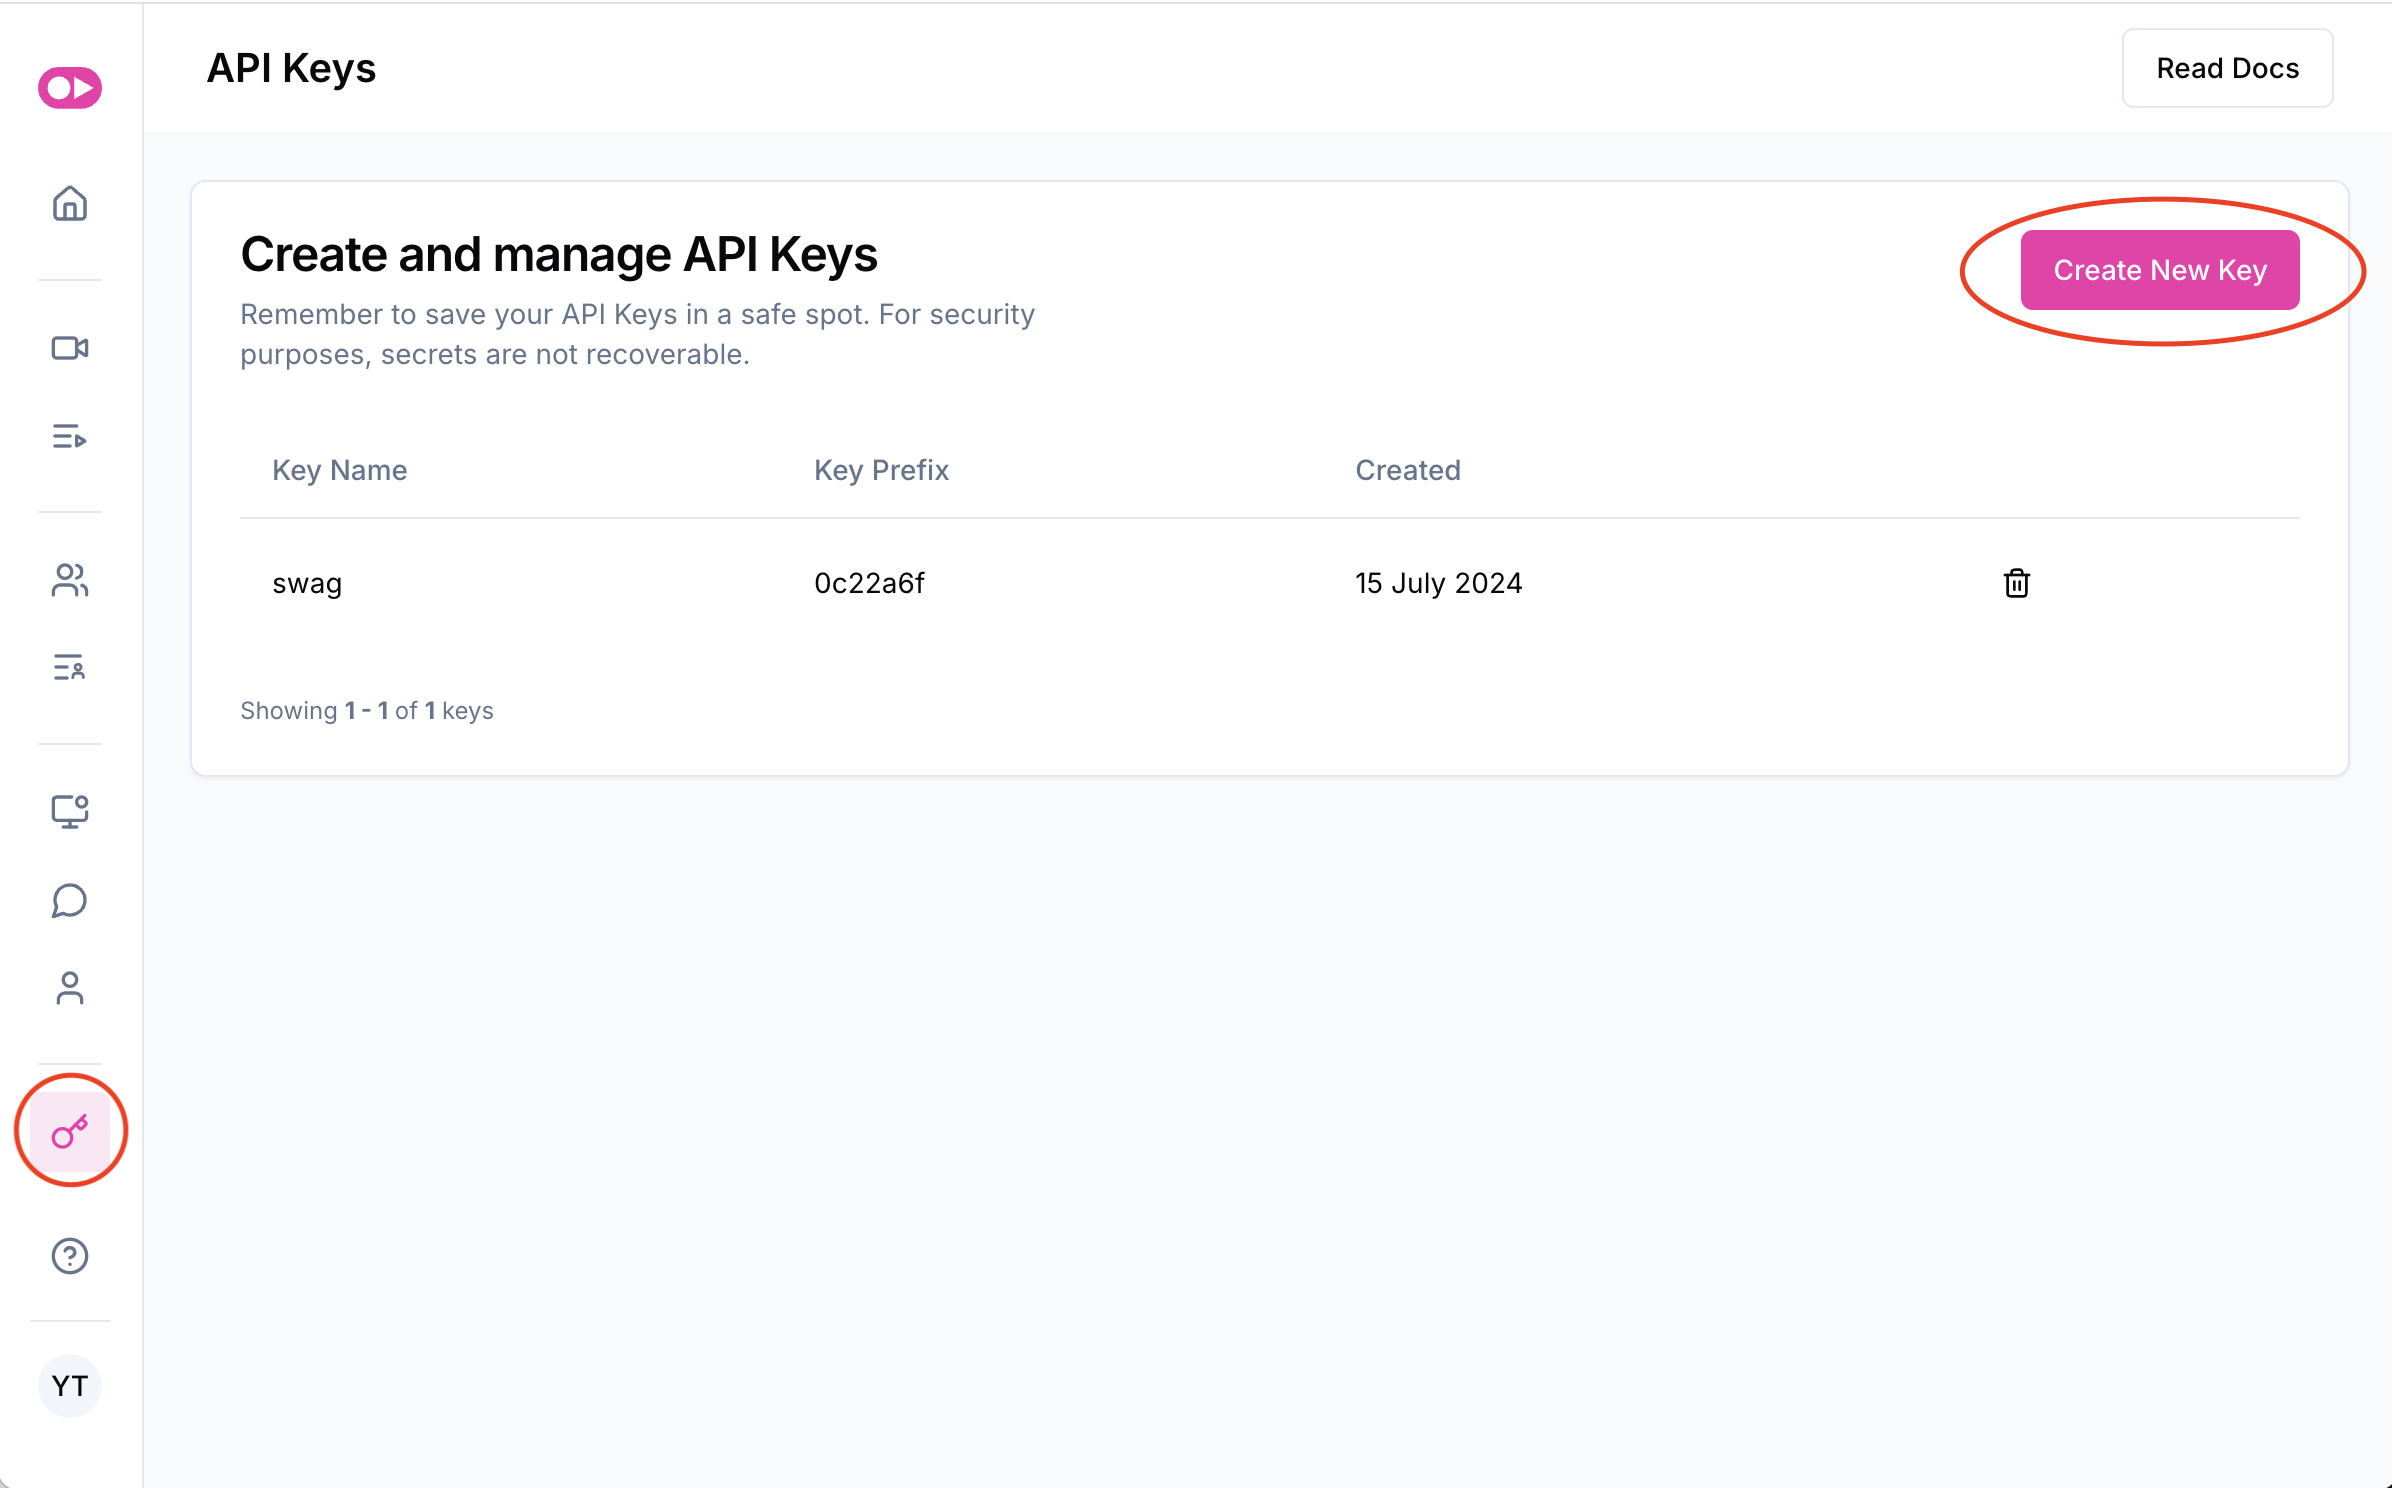
Before we dive into the best practices, here’s what the code looks like. Before you work through this example, you need to pip install requests python-dotenv and sign up for a Tavus Account. Once you've signed up for an account, you can navigate to the key icon on the left side and then click "Create New Key" to get your new API key. Make sure you copy and save the key once you get it!

import requests
url = "https://tavusapi.com/v2/conversations"
The URL we’ll hit for this API is shown above, and an example payload is shown below. We’ll cover how to use each of the pieces of the API call in this example with a detailed walkthrough of the different parameters in the sections below.
payload = {
"replica_id": "<string>",
"conversation_name": "<string>",
"conversational_context": "<string>",
"properties": {
"max_call_duration": 240,
"participant_left_timeout": 0,
"enable_recording": True,
"recording_s3_bucket_name": "<string>",
"recording_s3_bucket_region": "<string>",
"aws_assumed_role_arn": "<string>"
}
}
Before we make our API call, we need to load our API key. I use dotenv to handle environment variables. Once we have our API key, we put it in the header and set our Content-Type to “application/json”. From there, we are ready to make a POST request to the URL specified above with the payload and headers we’ve created in this code snippet.
from dotenv import load_dotenv
import os
load_dotenv()
TAVUS_API_KEY = os.environ["TAVUS_API_KEY"]
headers = {
"x-api-key": TAVUS_API_KEY,
"Content-Type": "application/json"
}
response = requests.request("POST", url, json=payload, headers=headers)
print(response.text)
When we get a response, it will look something like this:
{
"conversation_id": "c2b10f44",
"conversation_name": "New Conversation 1722996608090",
"conversation_url": "https://tavus.daily.co/c2b10f44",
"status": "active",
"callback_url": null,
"created_at": "2024-08-07T02:10:08.103Z"
}
The main thing to pay attention to here is “conversation_url”. You can click this URL and it will take you directly to a meeting room where you or a user can chat with the digital replica in real time.
The first thing to do when creating a conversation is to choose a conversational replica. We can specify this in the first line in the payload under replica_id.
There are two options here:
If you want to create your own, you can do so with an API call and a simple video.
After you pick a conversational replica, the second line is conversation_name. This is where you can name your conversation.
The next line we see is conversational_context. Conversational context is the last mile situational context you need to give to the AI so it knows how to conduct the conversation. For example, if you’re building a sales coach, which we will cover an example of in our next blog, you would want to give the AI context on the the sales meeting.
Examples of conversational context could be:
The final block of the payload we need to understand is the properties block. There are six different properties available for you to control. Let’s take a look at what each of them does.
In this article we learned how you can quickly get started with building a real time conversational AI. All you need is an internet connection, some Python knowledge, and an API key from Tavus. With these three things in hand, you can simply set off a POST request with a series of parameters, and get a link to a conversation back.
We also covered what many of the important parameters are. Namely, we covered:
replica_id, which allows you to pick a replica to use in a conversationconversational_context, which sets the specific context for a conversationproperties of a conversation you can controlNext time, we’ll dive further into building a custom conversational AI by showing you how you can create a "persona", which can provide more than just context for your conversation, but also a background and set of expertise for the replica, for example a sales agent.